
Oh my lord this is bright!

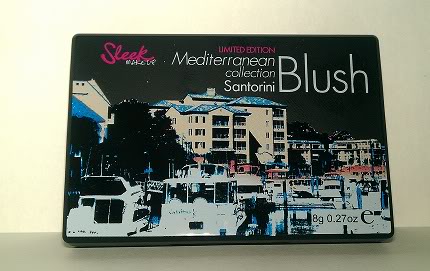
The Santorini Blush is part of the summery Mediterranean collection which was launched on the 6th June.

When compared side by side to Sleek’s other bright pink offering, you can see the difference isn’t quite so vast but on use, it becomes shockingly apparent. I had initially thought there wasn’t going to be that much difference but I sure was wrong!
 |
| Swatched in daylight, in front of the window |
The dolly pink shade is a nice buildable bold pink, it’s forgiving and super blendable. Santorini on the other hand is bold, super pigmented tricky customer.
 |
| Swatched in bright daylight |
From swatching, I knew I’d have to have a very gentle hand to get this look to work without looking like Aunt Sally from Worzel Gummidge!!!
With one very light tap of the blusher brush on the pan, you are rewarded with a super bold flush of colour that is quite hard to blend. It certainly does need blending to make it look wearable.
 |
|
| Top of my hand – 3 light sweeps over the pan with a brush and then blended out with fingers |
I’d definitely rate this as a blusher for the summer as you’d need a tan to pull this off, or it’s perfectly suited to the more olive + darker skinned ladies. I think you’d look a little clown-ish if you wore this on pale skin, there’s only so much blending you can do! That might be your thing of course!
For a highstreet brand, the pigmentation and longevity is just astounding, especially considering the price!!
You can buy the Santorini Blush from Sleek in the following ways….
In Superdrugs stores – the added bonus of using the Superdrug Beauty Card


